
Most cardmakers have stencils in their craft collection but sometimes it can be difficult to know what to do with them. We often use them the same way over and over again. When I started this course with Altenew I was looking forward to discovering different ways to use the many stencils I had acquired over the years. I had the Skylight stencil which I had never used, so this would be the perfect time to dig it out and show it some love.
Creating my Stencilled Card
I began this card by combining some of the techniques I’d already learned in the first part of the Altenew Educator Certification Program; ink blending and stamp layering. To start, I chose each of the blooms and mounted them onto my stamping platform. I don’t often use a stamping platform, I normally just stamp individually by hand. But because I was stamping so many smaller stamps and wanted to ensure they were stamped well, I decided to use my W R Memory Keeper Precision Press.
I inked them up with my Spectrum Noir Finesse Waterproof Ink in black. I use this ink when I’m considering doing some watercolouring, and I hadn’t decided with these flowers how I was going to colour them yet. Once they were stamped, I repeated the process with the leaves, except this time I stamped them by hand.
I love colouring with my Spectrum Noir Colourblend Pencils but I only have a few sets, so I chose to use my Prismacolors with these instead. I coloured each of the flowers individually within the same colour spectrum. Purples are a really great colour choice for some of these flowers – and I confess I pick purple a lot. And I really do mean, A LOT! lol.

The Prismacolor pencils are really easy to blend which makes creating depth fairly easy. Adding depth to your colouring gives flowers and other images a lovely realistic look, otherwise your images can look flat. I usually start with my lightest colour and build up to the darkest, but I always end by blending the whole thing together with a light colour or a blending stump.

I die cut the flowers and leaves and then began work on my background. I die cut a stitched rectangle 4.25″ x 5.5″ from Neenah Classic Crest Solar White Cardstock. It’s a super smooth cardstock and perfect for stamping and ink blending. You can buy it in the UK from the Crafter’s Companion website. But if you can’t get hold of the Neenah brand, Crafter’s Companion Stamping Card or Bristol cardstock also work really well too.

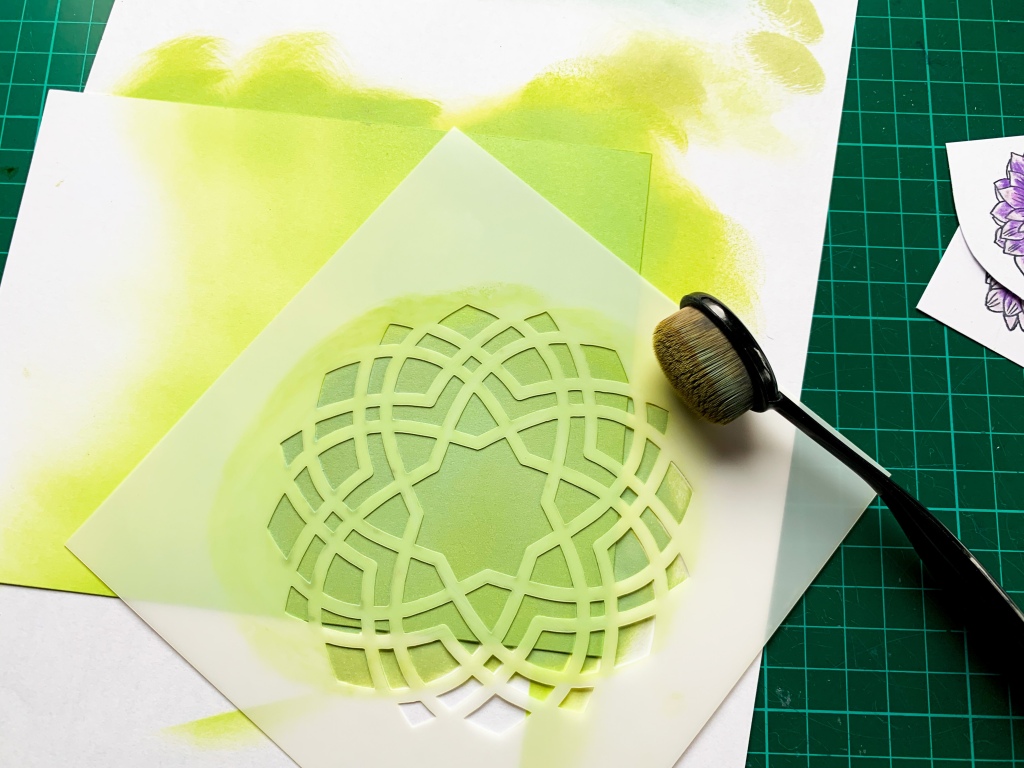
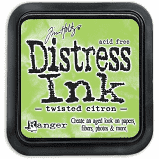
I used the Ranger Distress Oxide Twisted Citron ink pad, which I absolutely love because of how bright and bold it is, and blended the ink over the whole background. The bright green contrasts really well with the bold purple of the flowers and ties in well with the colour of the leaves. Initially, I was only going to ink blend half way up the card but I decided I wanted the bold colour to completely fill the front panel. So I went ahead and filled it all in.
I waited until the first layer of distress ink was completely dry – that’s an important step if you’re planning on heat embossing a second layer. Otherwise you risk your embossing powder sticking in all the wrong places. I placed the Skylight Stencil from Altenew in the bottom corner of the card so that it overlapped the edge and ink blended over the top of it. The Ranger Distress Ink in Shabby Shutters is slightly darker so it gave a great contrast. Before it dried I covered it with WOW!Embossing powder in Clear Sparkle which has just a little hint of glitter sparkle. Once I ran the heat embossing tool over it, it looked really pretty.
When all these elements were complete, I finished putting the card together – and it doesn’t take very long at all. I glued the ink blended front panel to a white card base and layered the blooms and leaves around the bottom of the card using foam tape or double sided glue. I made sure you could still see the stencil showing through, and used the stamped images to frame it rather than cover it up. Finally, I die cut the word ‘hello’ from the same white cardstock using the Altenew Handwritten Hello die, and glued it onto the top of the card. I completed the look with some self-adhesive white sequins from W R Memory Keepers.
Getting to Grips with Stencilling
It was lots of fun finding ways to try new stencil techniques, and I gave a few different ideas a go before I finally made this card as part of my Altenew Educator Certification Program. The best thing, though, is that I now have a TON of ideas for other cards that I want to make. So that’s going to keep me busy for a while!
Fiona x


What a awesome card! Beautiful colors too! Bye…
LikeLiked by 1 person
Thank you!! x
LikeLike
Lovely colours, Fiona!
Thank you for entering your work to the AECP assignment gallery.
LikeLike