If you’ve ever wondered how to create interesting backgrounds for your cards, let me point you to the Beyond Basic Backgrounds course with Altenew Academy. It’s so much fun. I won’t spoil the surprise by telling you what’s in it, but trust me you’ll learn a lot. And as soon as I completed the course I had so many ideas for cards that I want to share. This card is one of those.
Beautiful Background Blending
You don’t have to have a lot of supplies to create interesting backgrounds. I’m the sort of crafter who sees someone using a product and immediately ‘adds it to cart’! Lmao. But that craft-shopping addiction means that I can sometimes overlook the beautiful backgrounds that you can make with only a few products. I really wanted to see how much interest I could create with only a few supplies, and that is when I decided on this card layout for my next challenge.

I use grey cardstock a lot. In fact, I have so many different colours of grey card my craft cabin is totally 50 shades. Heehee! So, with so much of it in my stash it was a good chance to see what else I could do with it.
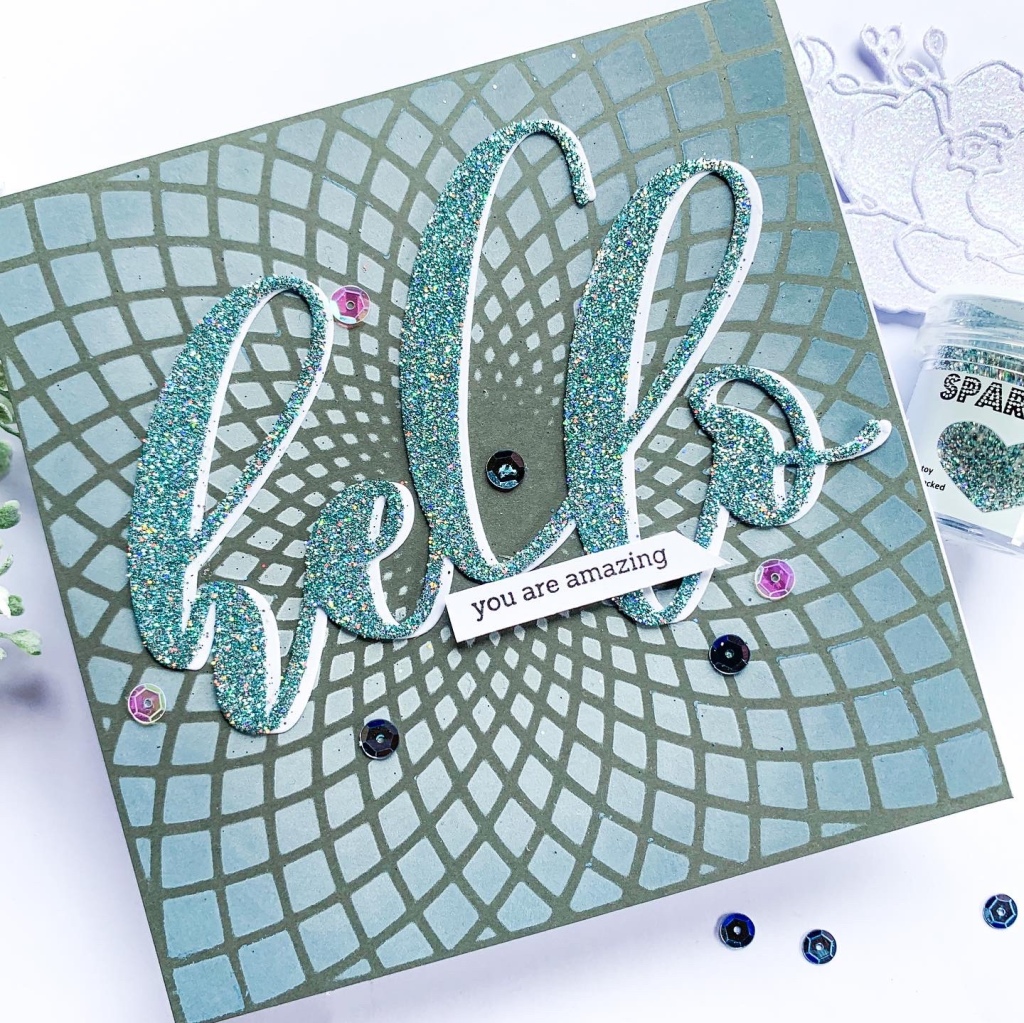
I picked the Sunburst stencil from Altenew and coupled it with two very different inks – Stormy Sky Distress Oxide by Ranger, and Amethyst Metallic Ink Pad from Spectrum Noir. You can see which products I used from the images at the bottom of this post. I started to blend the inks with the Stormy Sky Distress Oxide first, and I began around all the edges. I faded it much more towards the centre to give an ombré look. Next, I took the metallic Spectrum Noir ink pad and began to blend it in. This time I started in the centre and worked my way outwards, but I used very little ink because the too much of this metallic can overpower all the other inks. What I was left with was a shiny, shimmering card front panel that looks fabulous when you turn it in the light.

For the centrepiece of the card, I chose the Mega Hello Die. I simply cannot get enough of this fantastic die cut. I have more ‘hello’ cards than I do friends to send them to because of this die!! lol. Although it’s already very large, I wanted to give it even more drama. I cut a square from a Stick It double-sided adhesive sheet and adhered it to a square piece of Crafter’s Companion Stamping Card. This white card is perfect for stamping because of how smooth it is, but at 300gsm (roughly 110lbs) it is fantastic for creating die cut pieces as well.
When I had it ready, my piece of card looked like white cardstock on one side, Stick It peel off paper on the other, and stuck together by the Stick It sheet in the middle. I did try to get a decent picture so you could all see what I mean, but honestly it didn’t come out too well. I placed the Mega Hello die face down on the adhesive side. It’s very important to get that bit the right was around, otherwise the next step won’t be as straight forward…so don’t layer it with the card side next to the die.
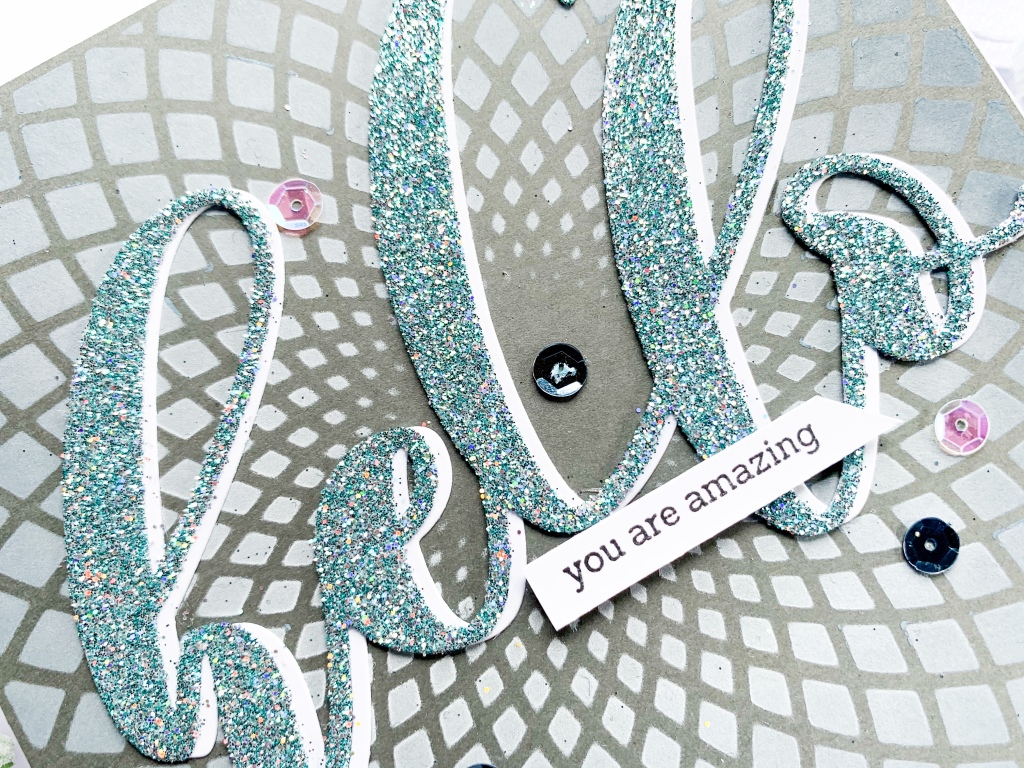
After I ran it through my Sizzix Big Shot Plus, I peeled off the final adhesive cover film and then sprinkled it all over with WOW! Embossing Twinklebelle Sparkles. This isn’t an embossing powder, it’s solely glitter, so you can’t heat set it. That’s why having a ready-made adhesive side for it to stick to makes this trick so much easier. Then I ran the Mega Hello Die back through my die cutting machine using plain white cardstock, and glued it behind the glittered sentiment. I kept it slightly off-set to create a shadow effect. It also helps the glitter sentiment stand out better against the busy background, so it’s much easier to read.
To finish my card, I cut the blended background down to 6″ x 6″ and adhered it to a card base the same size. I used double sided foam squares to stick my sentiment to the very centre of the card, and added another little sentiment stamped in Archival black ink. Finally I dotted my card here and there with different sequins…as if the Twinklebelle glitter wasn’t enough glam! 😉
So Much Die Cutting Fun
This was a fairly easy card to make that didn’t really use a lot of supplies. The best thing about it is how easily you can change just one or two elements to turn it into a masculine card too – and I know we all struggle with themes for those. The Beyond Basic Backgrounds course with Altenew Academy talks through a bunch of really cool techniques, so if you go ahead and take this course don’t forget a notebook and pen!
I hope you like my card! I’d love to see some of your creative backgrounds too, so please share them with me on Instagram! Until next time…
Fiona x